Documentation Index
Fetch the complete documentation index at: https://moengage-ios-release-notes-breaking-changes-doc-1961.mintlify.app/llms.txt
Use this file to discover all available pages before exploring further.
Early AccessThis is an Early Access feature. To enable it for your account, please contact your MoEngage Customer Success Manager (CSM) or the Support team.
| Channel Name | One-time | Periodic |
|---|---|---|
| Mobile Push | Yes | Yes |
| Web Push | Yes | Yes |
| Yes | Yes | |
| SMS | Yes | Yes |
| Yes | Yes |
Create the Campaign Decisioning
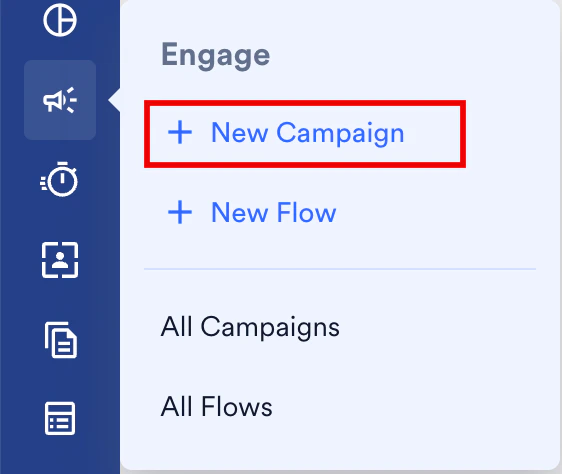
To create the campaign decisioning managed by an AI Agent, perform the following steps:- On the sidebar menu in MoEngage, hover over the Engage icon
 . The Engage menu appears.
 - Click + New Campaign.
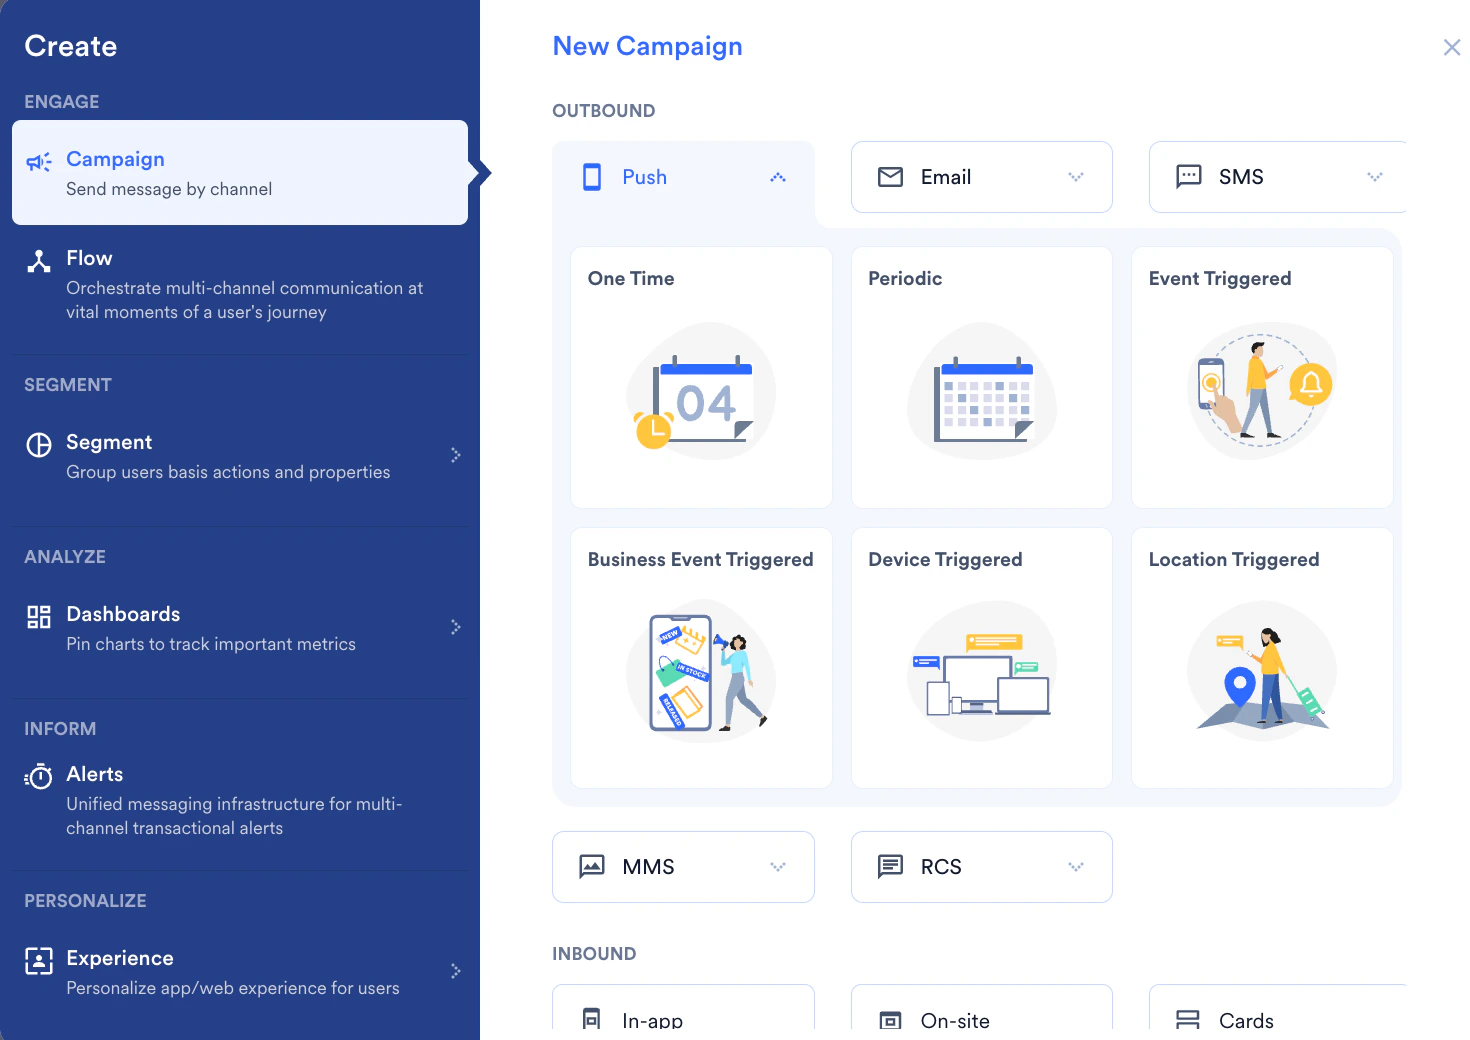
- Select your desired channel (for example, Push) and delivery type (One Time or Periodic).
Step 1: Target Users
Define the basic campaign details and select the AI delivery strategy.- Define Campaign Details: Enter the basic information for your campaign.
-
Campaign tags: Select or create relevant context labels for the campaign.
Note: You must select at least three tags. These tags provide the features that AI needs to understand the nature of the campaign (for example, Seasonal, High-Value, or Cross-sell) to optimize its decisions effectively.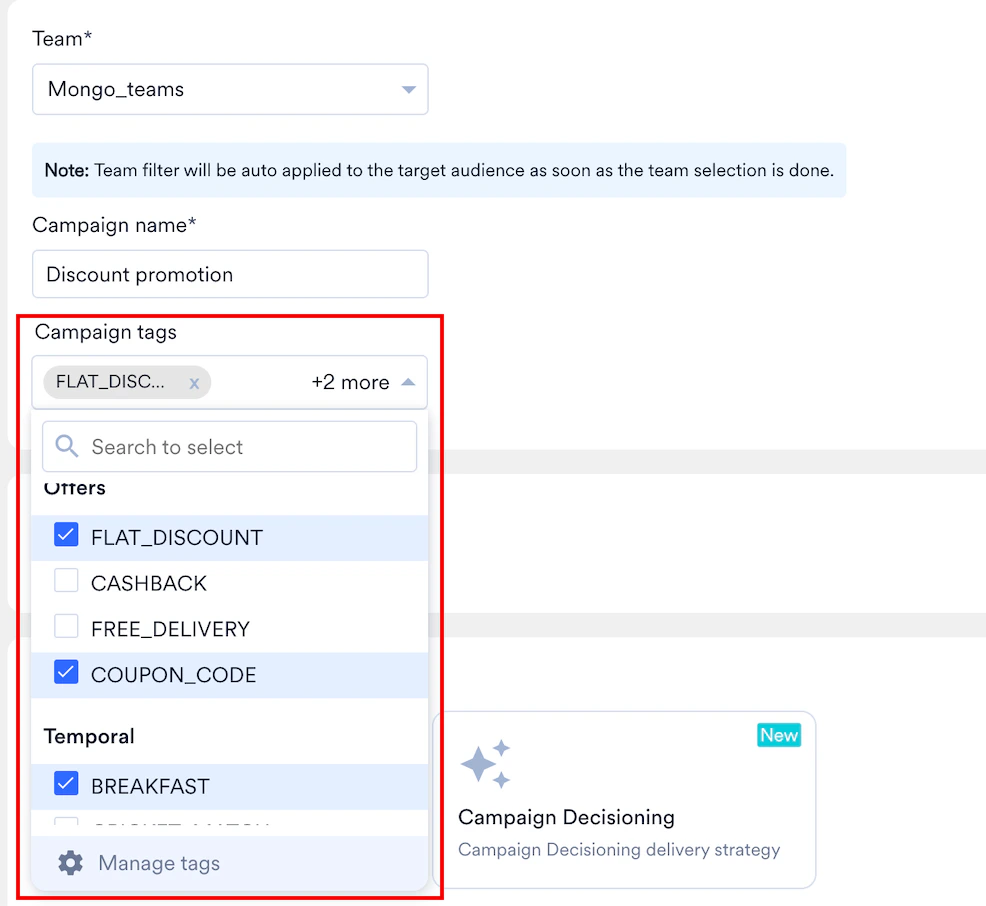
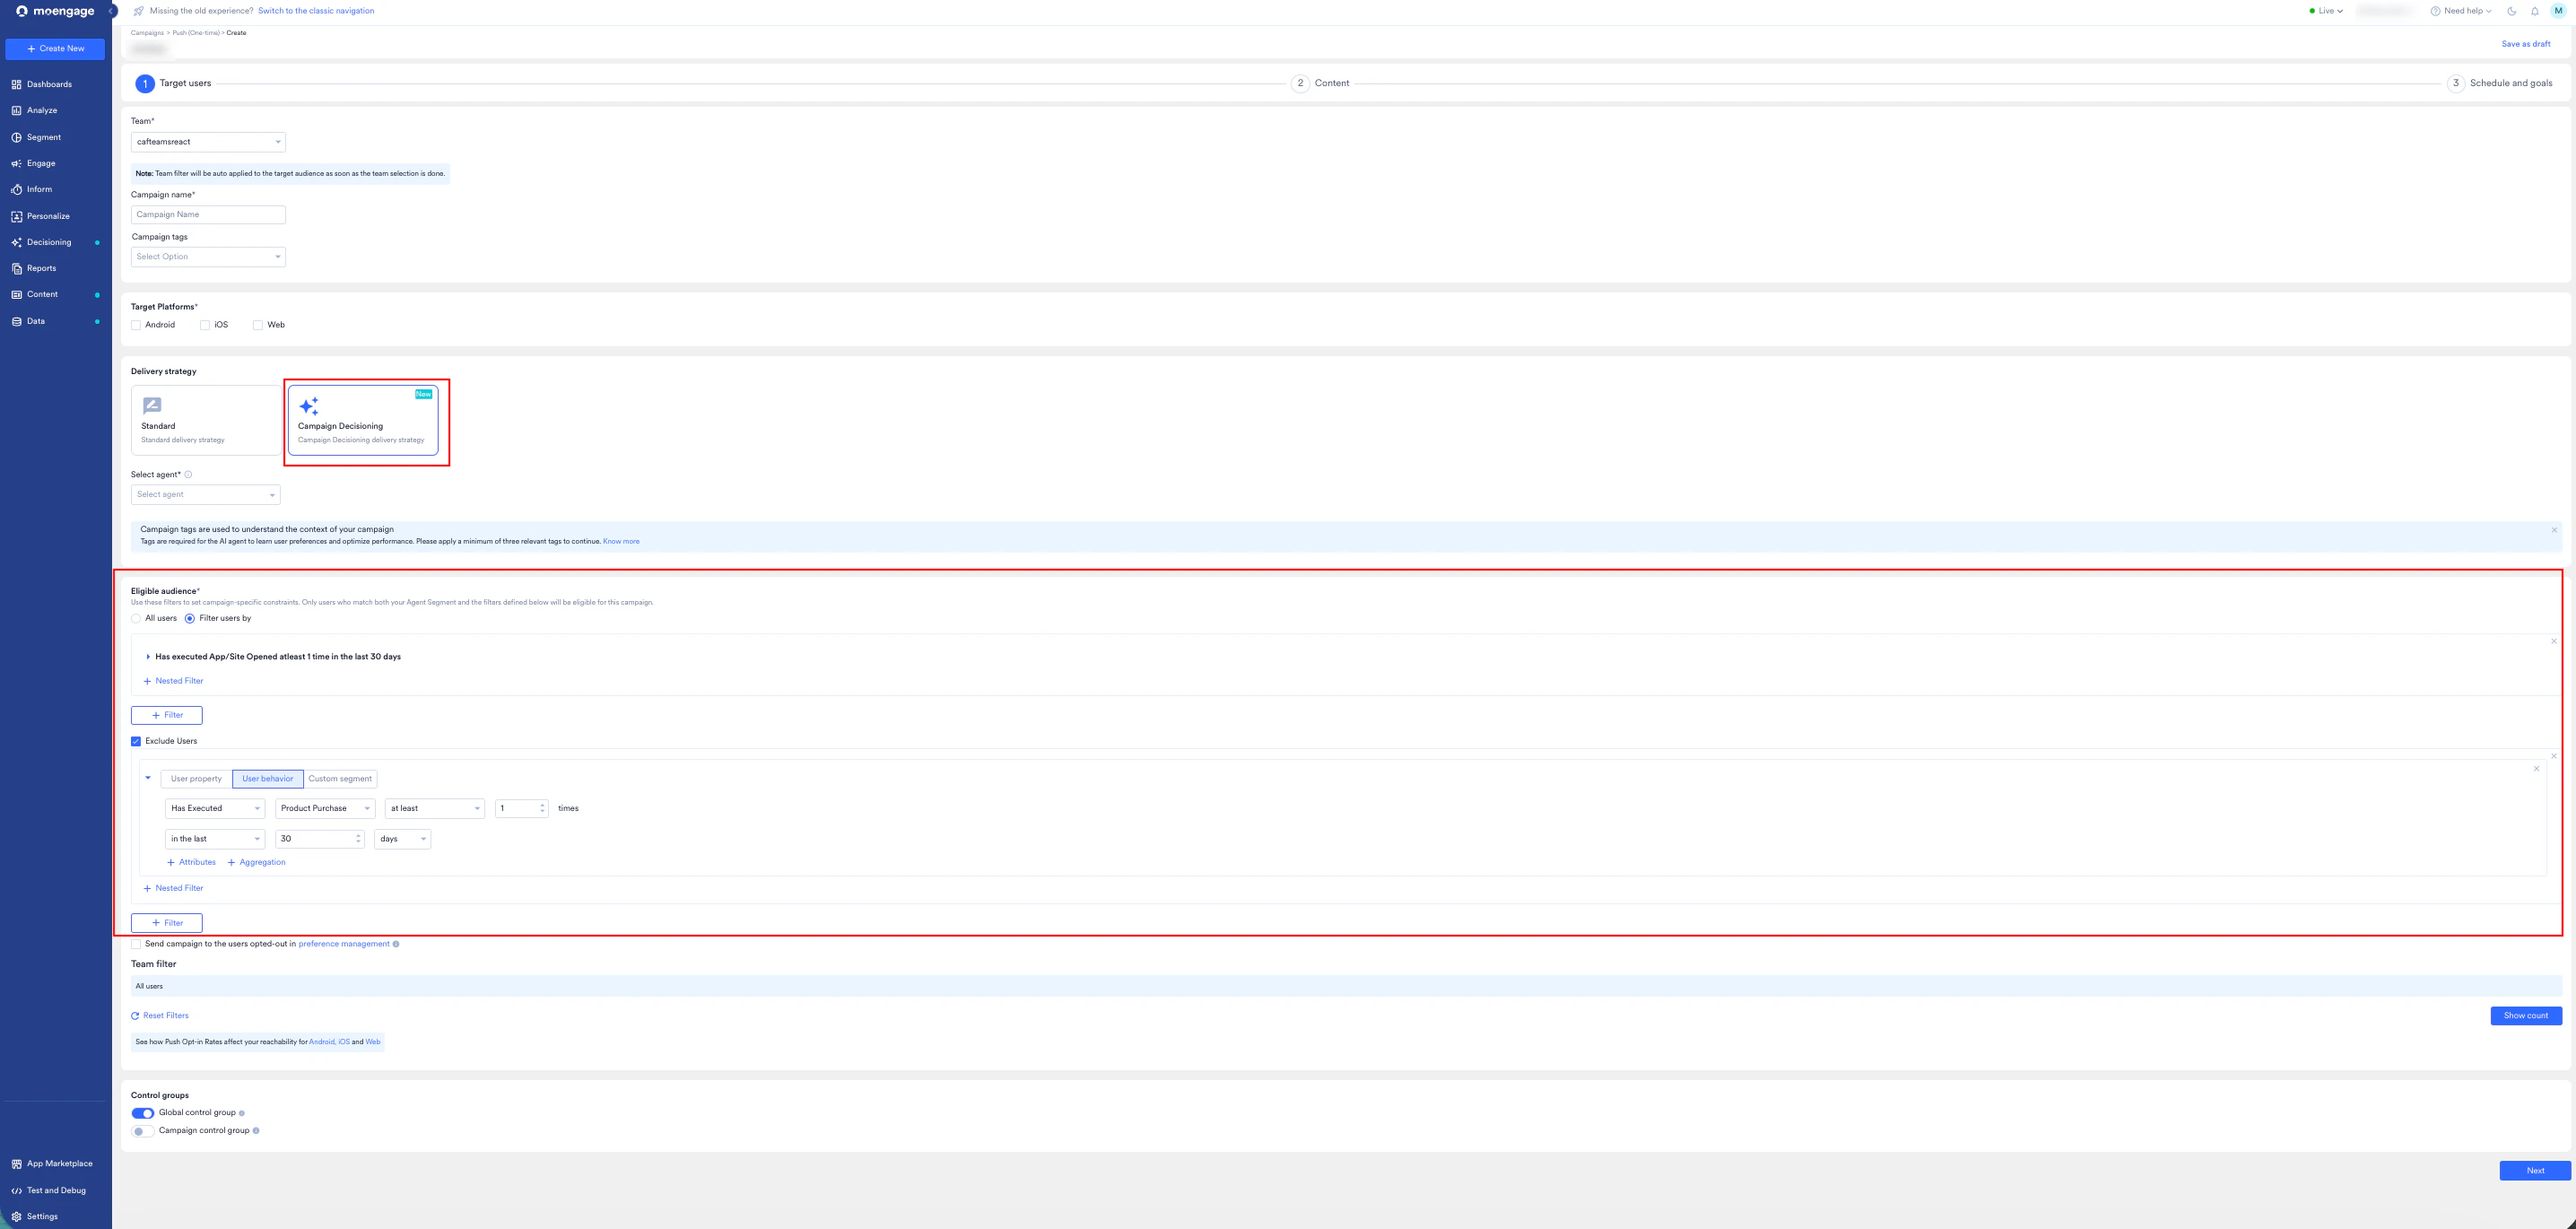
- Configure Delivery Strategy: In the Delivery Strategy section, click the Campaign Decisioning card. The Select agent list will appear. Note: Selecting Standard lets you manually define your audience segments and delivery rules. For more information, refer to Campaign-Decisioning-Agents.
- Select agent: In the drop-down list, click the active AI Agent that will manage the delivery logic for this campaign.
-
Select Target Audience: Select your audience based on your intended delivery channel.
- Refer to specific channel documentation for detailed instructions on Push, Email, SMS, and WhatsApp setup.
- Note: The audience defined for this campaign must be a subset of the higher-level audience previously defined in your Agent setup.
Step 2: Content
- Define the message (in this case, Title, Body, and Images) that the AI will deliver. The Agent evaluates how these messages perform across different user cohorts to refine future deliveries.
- You can also add multiple variations of the content, and the most suitable variation will be sent to the user.
Step 3: Schedule and Goals
Finalize the campaign timeline and define the success metrics (KPIs) to track performance.- Schedule:
- Select the date and time for the campaign to begin. Only future dates are supported to allow the AI to prepare initial predictions.
- Optionally, select Best Time to Send to automatically schedule delivery when each user is most likely to engage. This ensures your entire campaign, from audience, channel, content, to schedule, is fully optimized for performance.
- Conversion Goals: Add the goals you want to track. These serve as the Rewards the AI Agent uses to learn which users respond best to this campaign.
FAQ
Why must campaigns be scheduled 24 hours in advance?
Why must campaigns be scheduled 24 hours in advance?
The Decisioning Agent requires this window to analyze complex user data and campaign features. To ensure the AI can accurately identify the best matches for every user, campaign settings are locked at midnight to allow for algorithmic processing.
Can I edit today's campaign content right before it sends?
Can I edit today's campaign content right before it sends?
While you can make changes, the Decisioning Agent will not recognize them immediately. The AI optimizes delivery based on a synchronization that occurs at midnight; therefore, you must apply content updates before the daily processing begins.
Do AI Decisioning campaigns support A/B testing, and how does it function?
Do AI Decisioning campaigns support A/B testing, and how does it function?
Yes. AI Decisioning uses Contextual Multi-Armed Bandits (CMAB), a more sophisticated approach than the standard “vanilla” bandits used in traditional campaigns. While standard testing looks for a single “winner,” our Agent evaluates each user’s unique context to assign the most relevant variation. It first identifies the optimal campaign for the individual and then selects the specific content variation most likely to maximize the agent’s reward.
Does AI Decisioning support Locales, and how does it work?
Does AI Decisioning support Locales, and how does it work?
Yes. Locale functionality in AI Decisioning campaigns operates identically to Standard campaigns. Locales are automatically assigned based on the user property rules defined during the locale setup.
What is the difference between Agent and Campaign segments?
What is the difference between Agent and Campaign segments?
The Agent Segment is the broad audience the AI learns from to maximize long-term goals. The Campaign Segment provides tactical guardrails to ensure message relevancy. For example, while the Agent analyzes all users, you might restrict a “Summer Dresses” campaign specifically to women. These campaign-level rules act as hard boundaries that the AI cannot cross.